Mural Mk. II

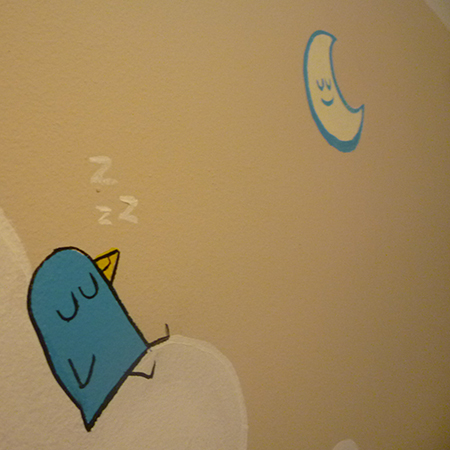
A second newborn is rapidly approaching our household (metaphorically speaking). As its older sister is in possession of a mural of unquestionable worth and quality on her bedroom wall, it seemed only fair that the new kid should get the same treatment.

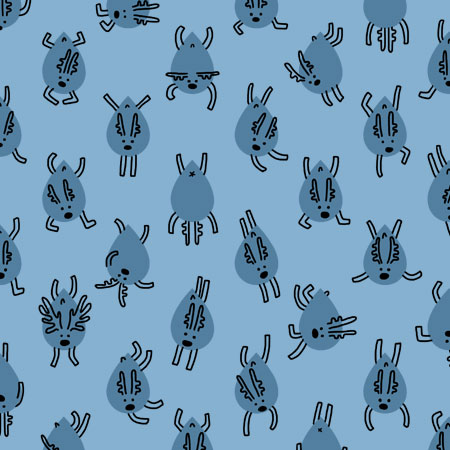
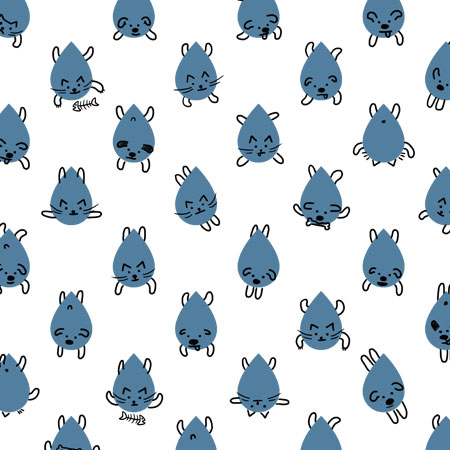
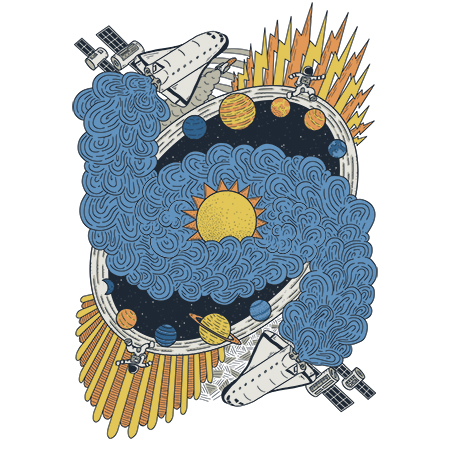
It’s a smaller room, so (thankfully!) I didn’t have space for as large an illustration as the first time around. We’ve ended up with a clouds and birds and aerial stuff theme, with one side a bit sleepier than the other. There’s some process shots below:

P1040539
P1040542
P1040541
P1040546
P1040549
P1040550
P1040551
P1040553

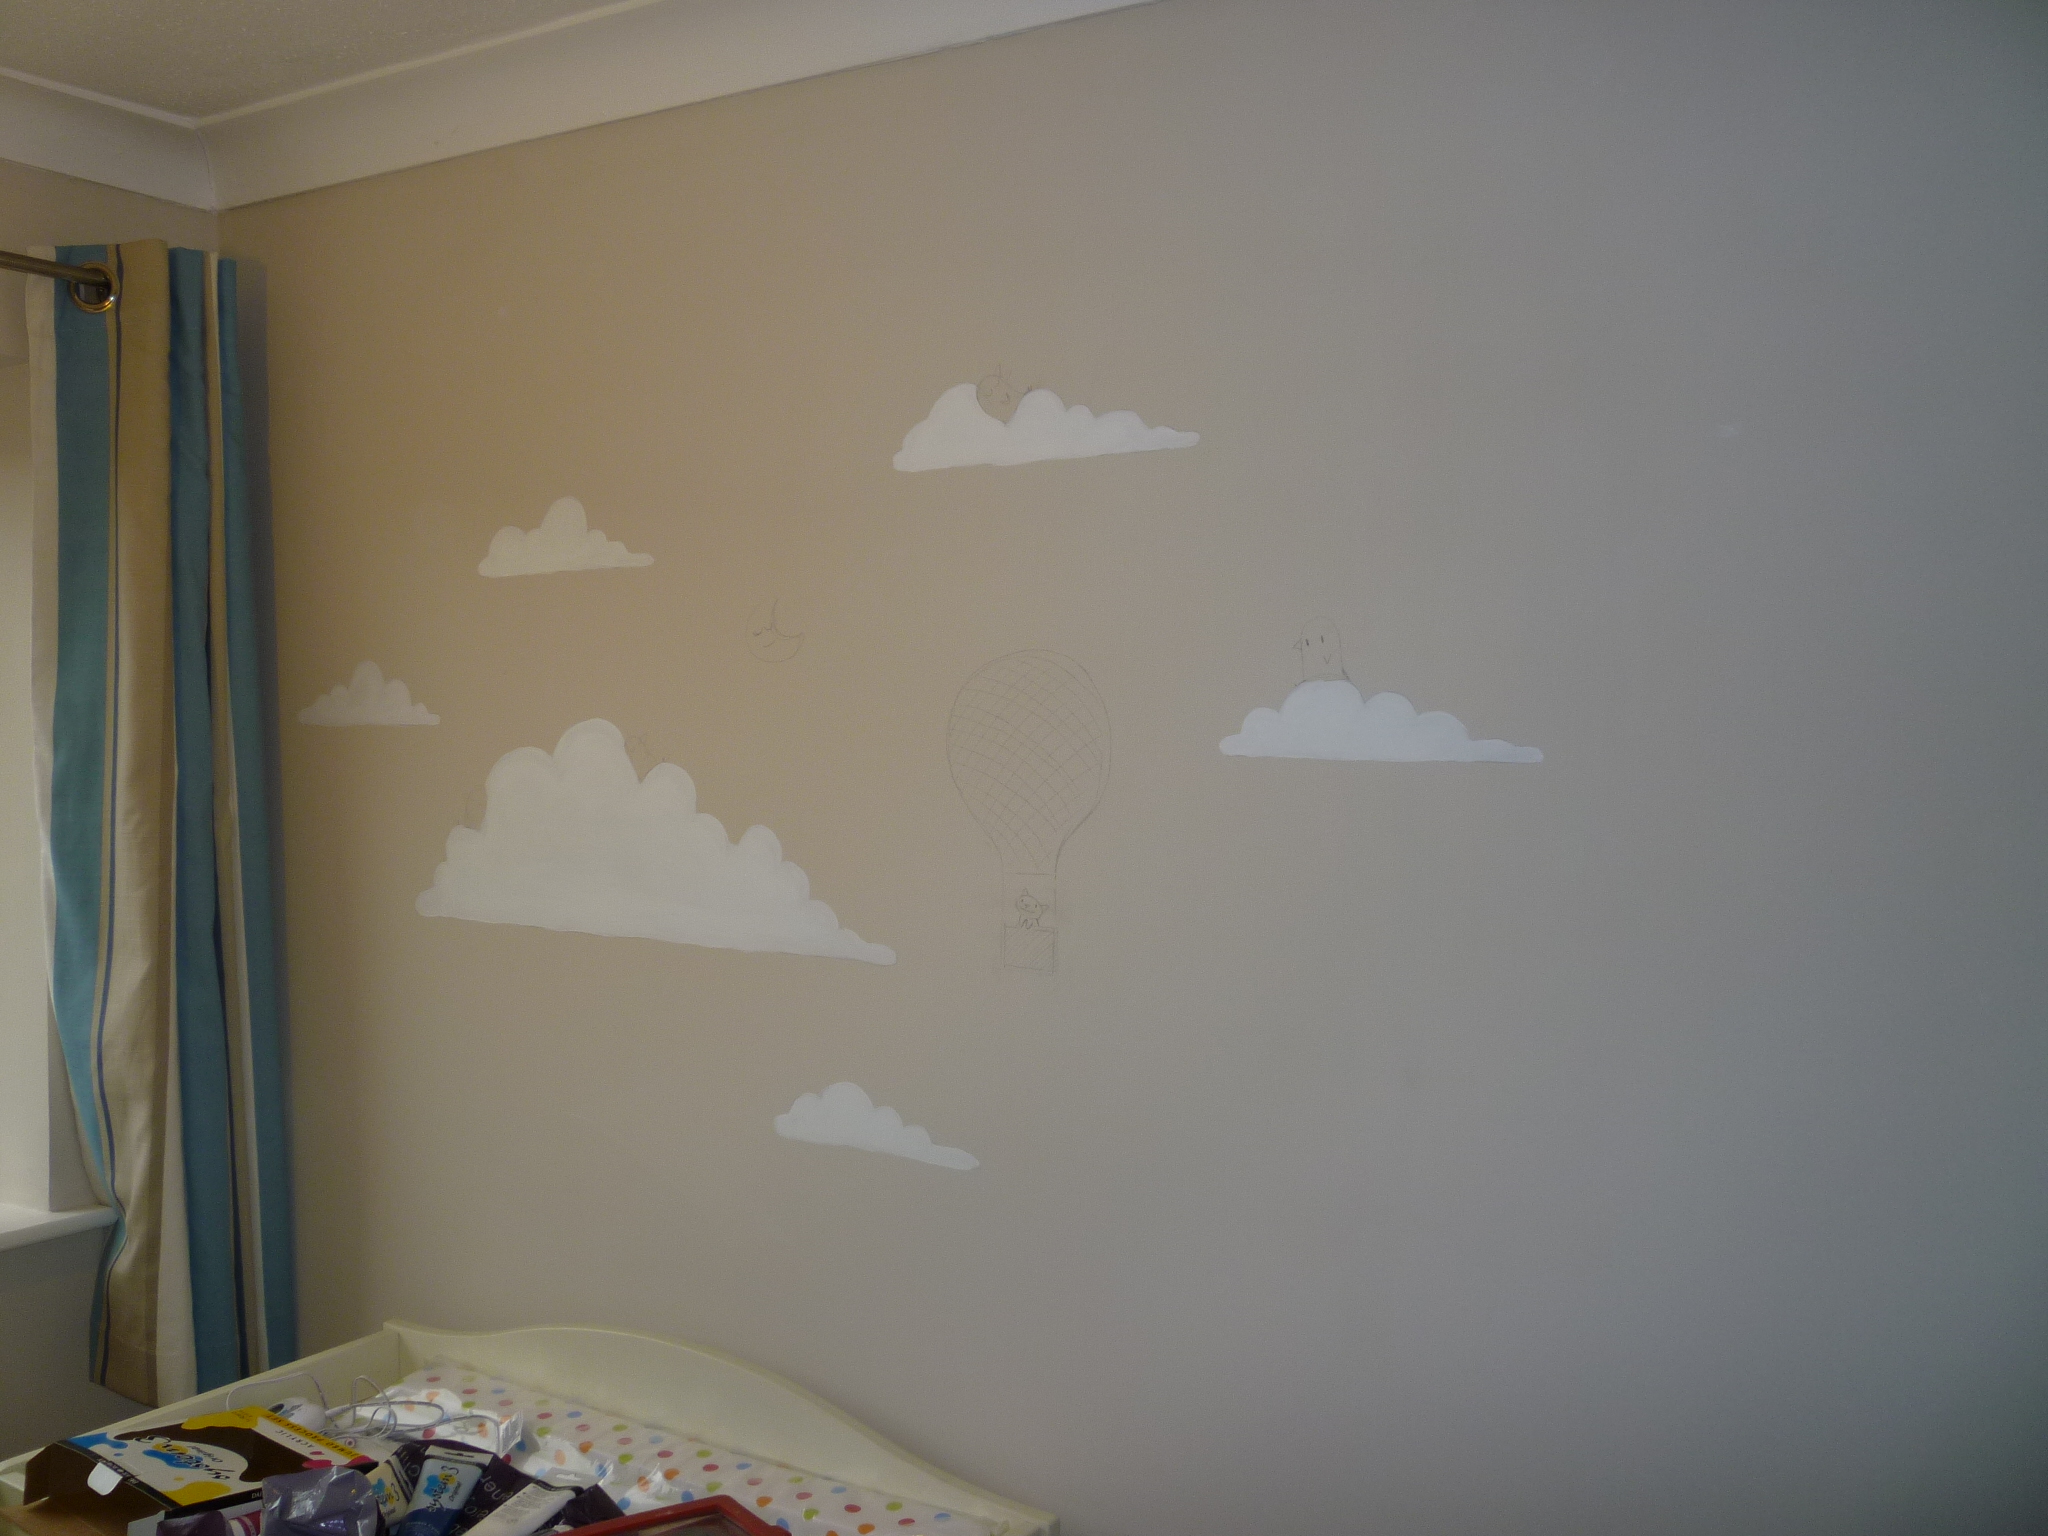
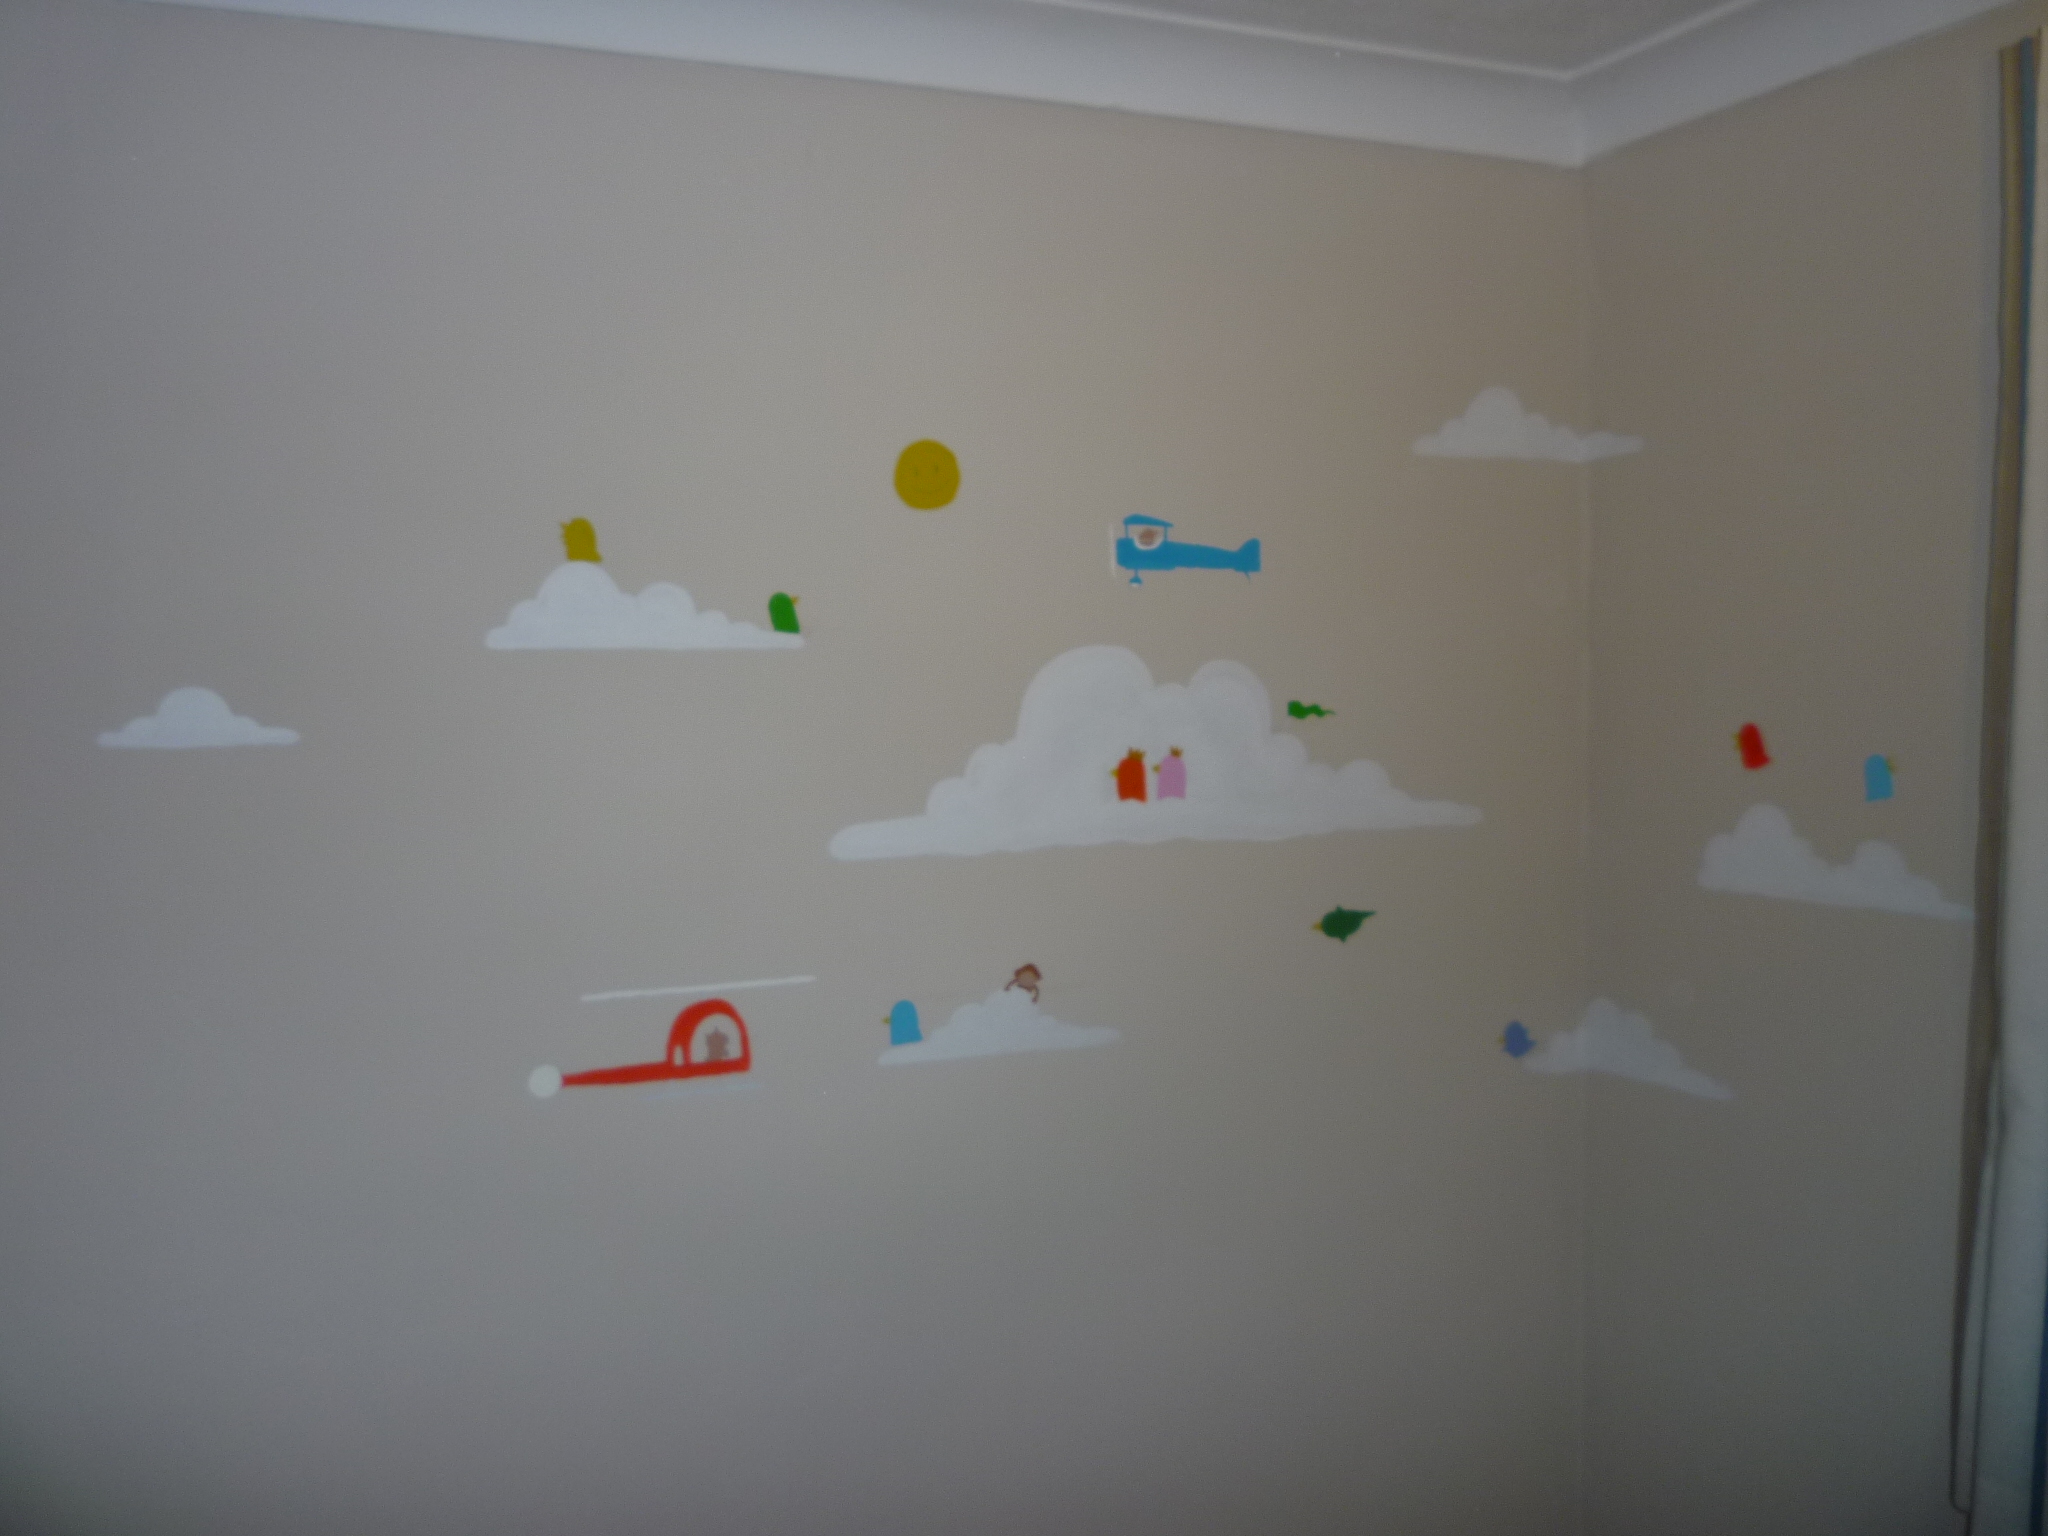
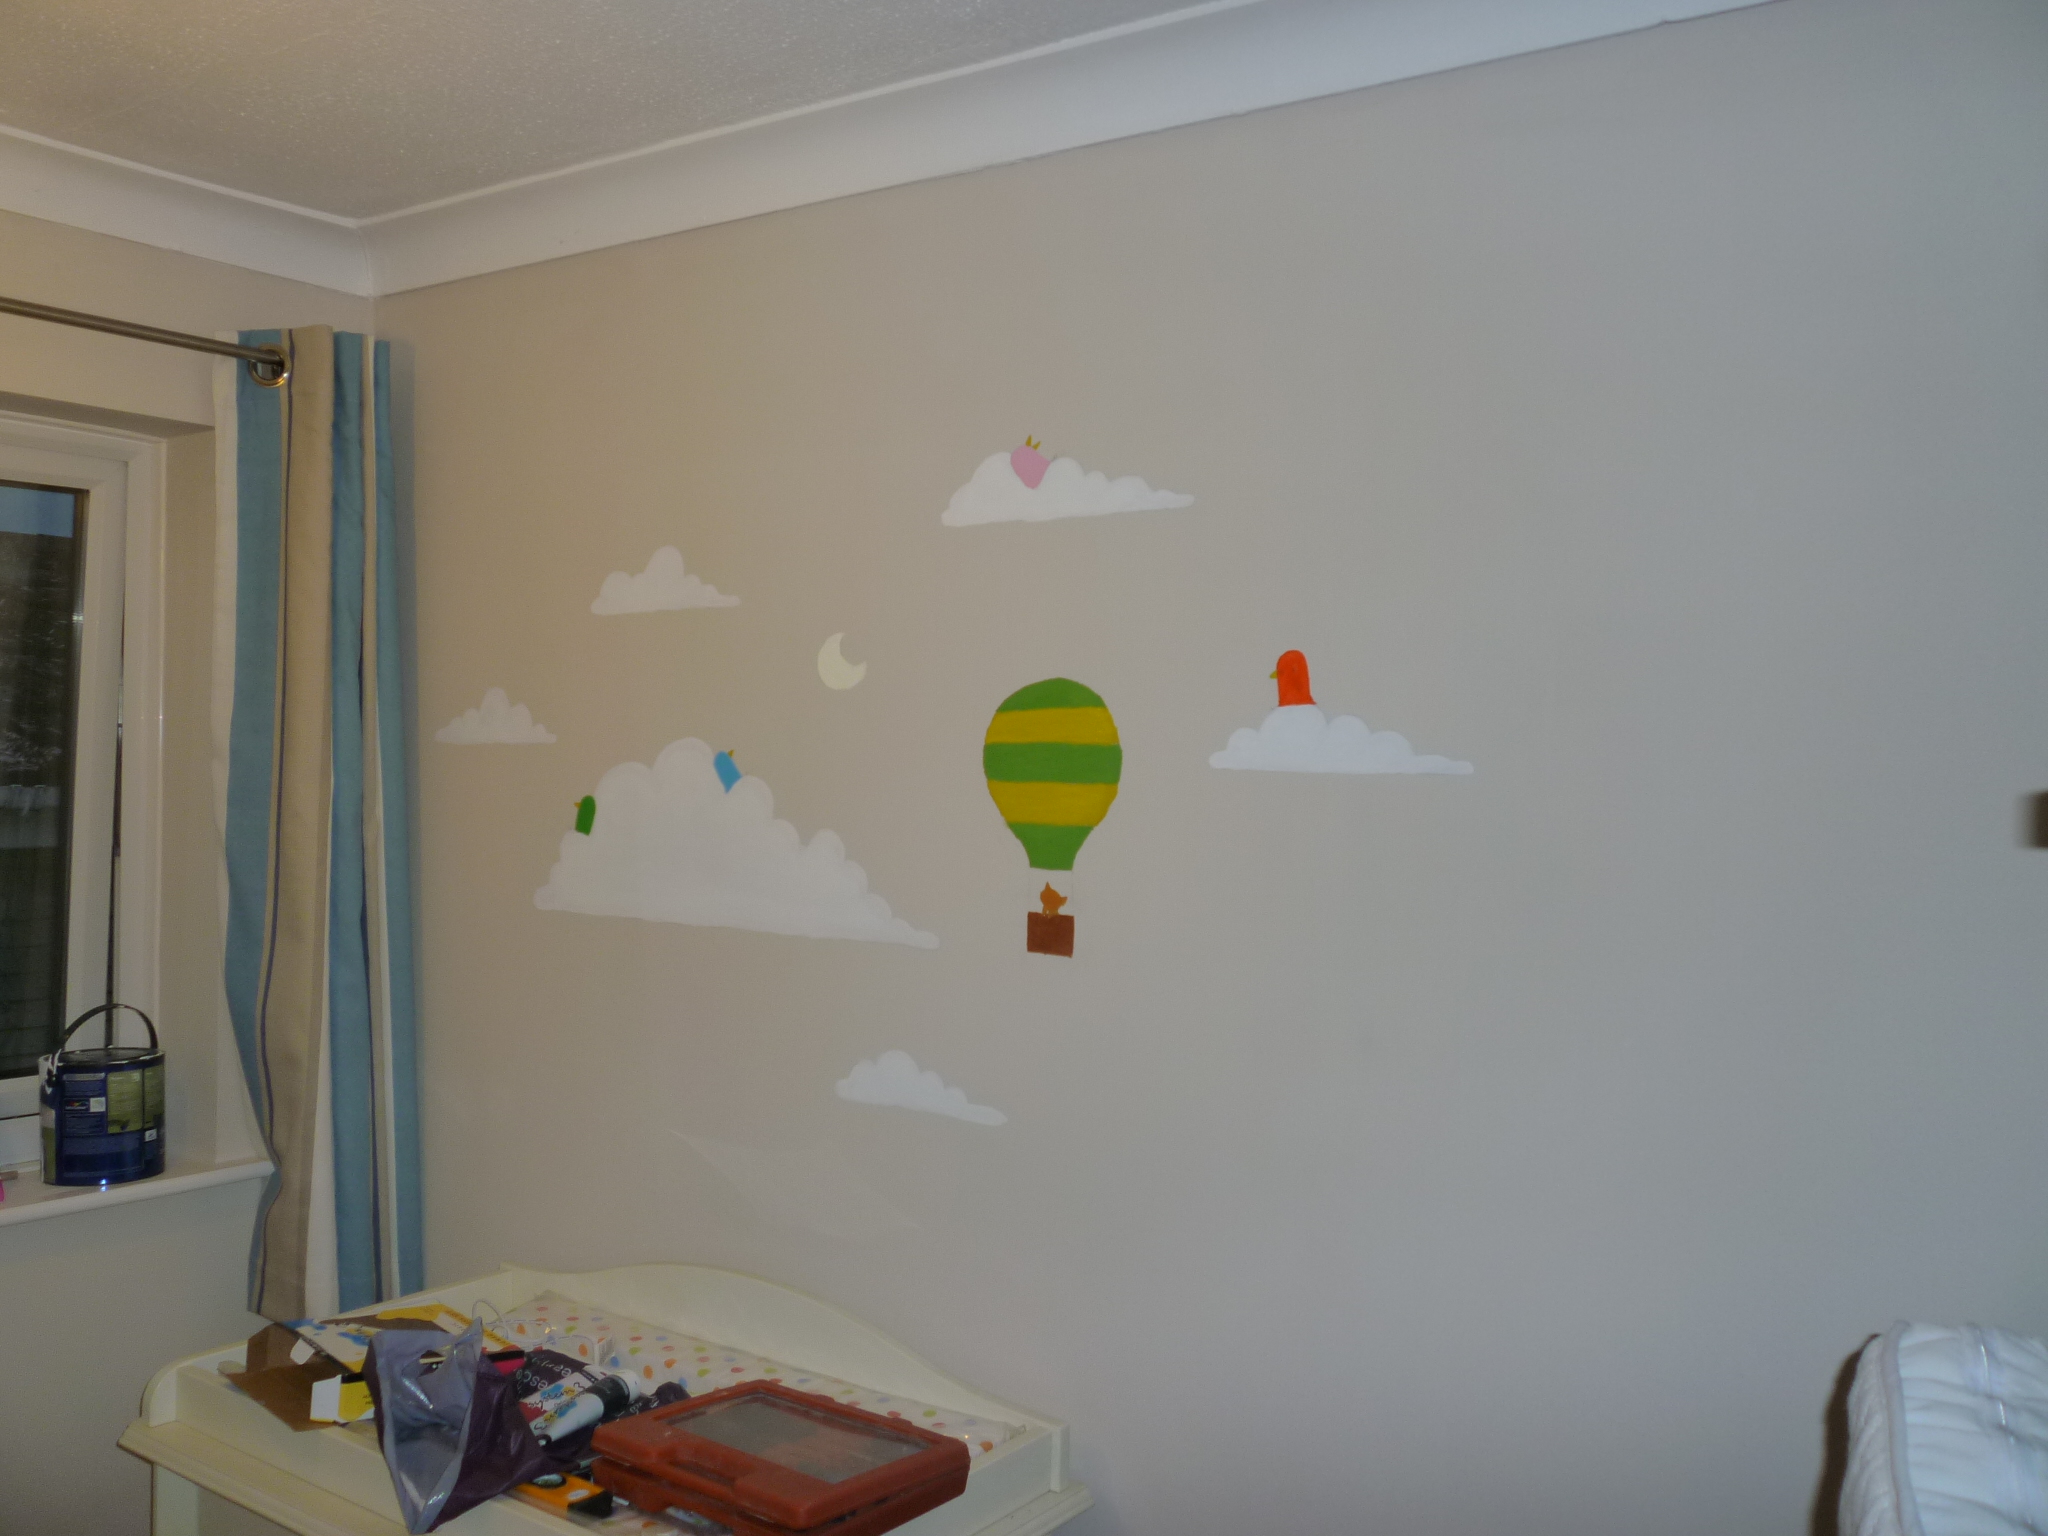
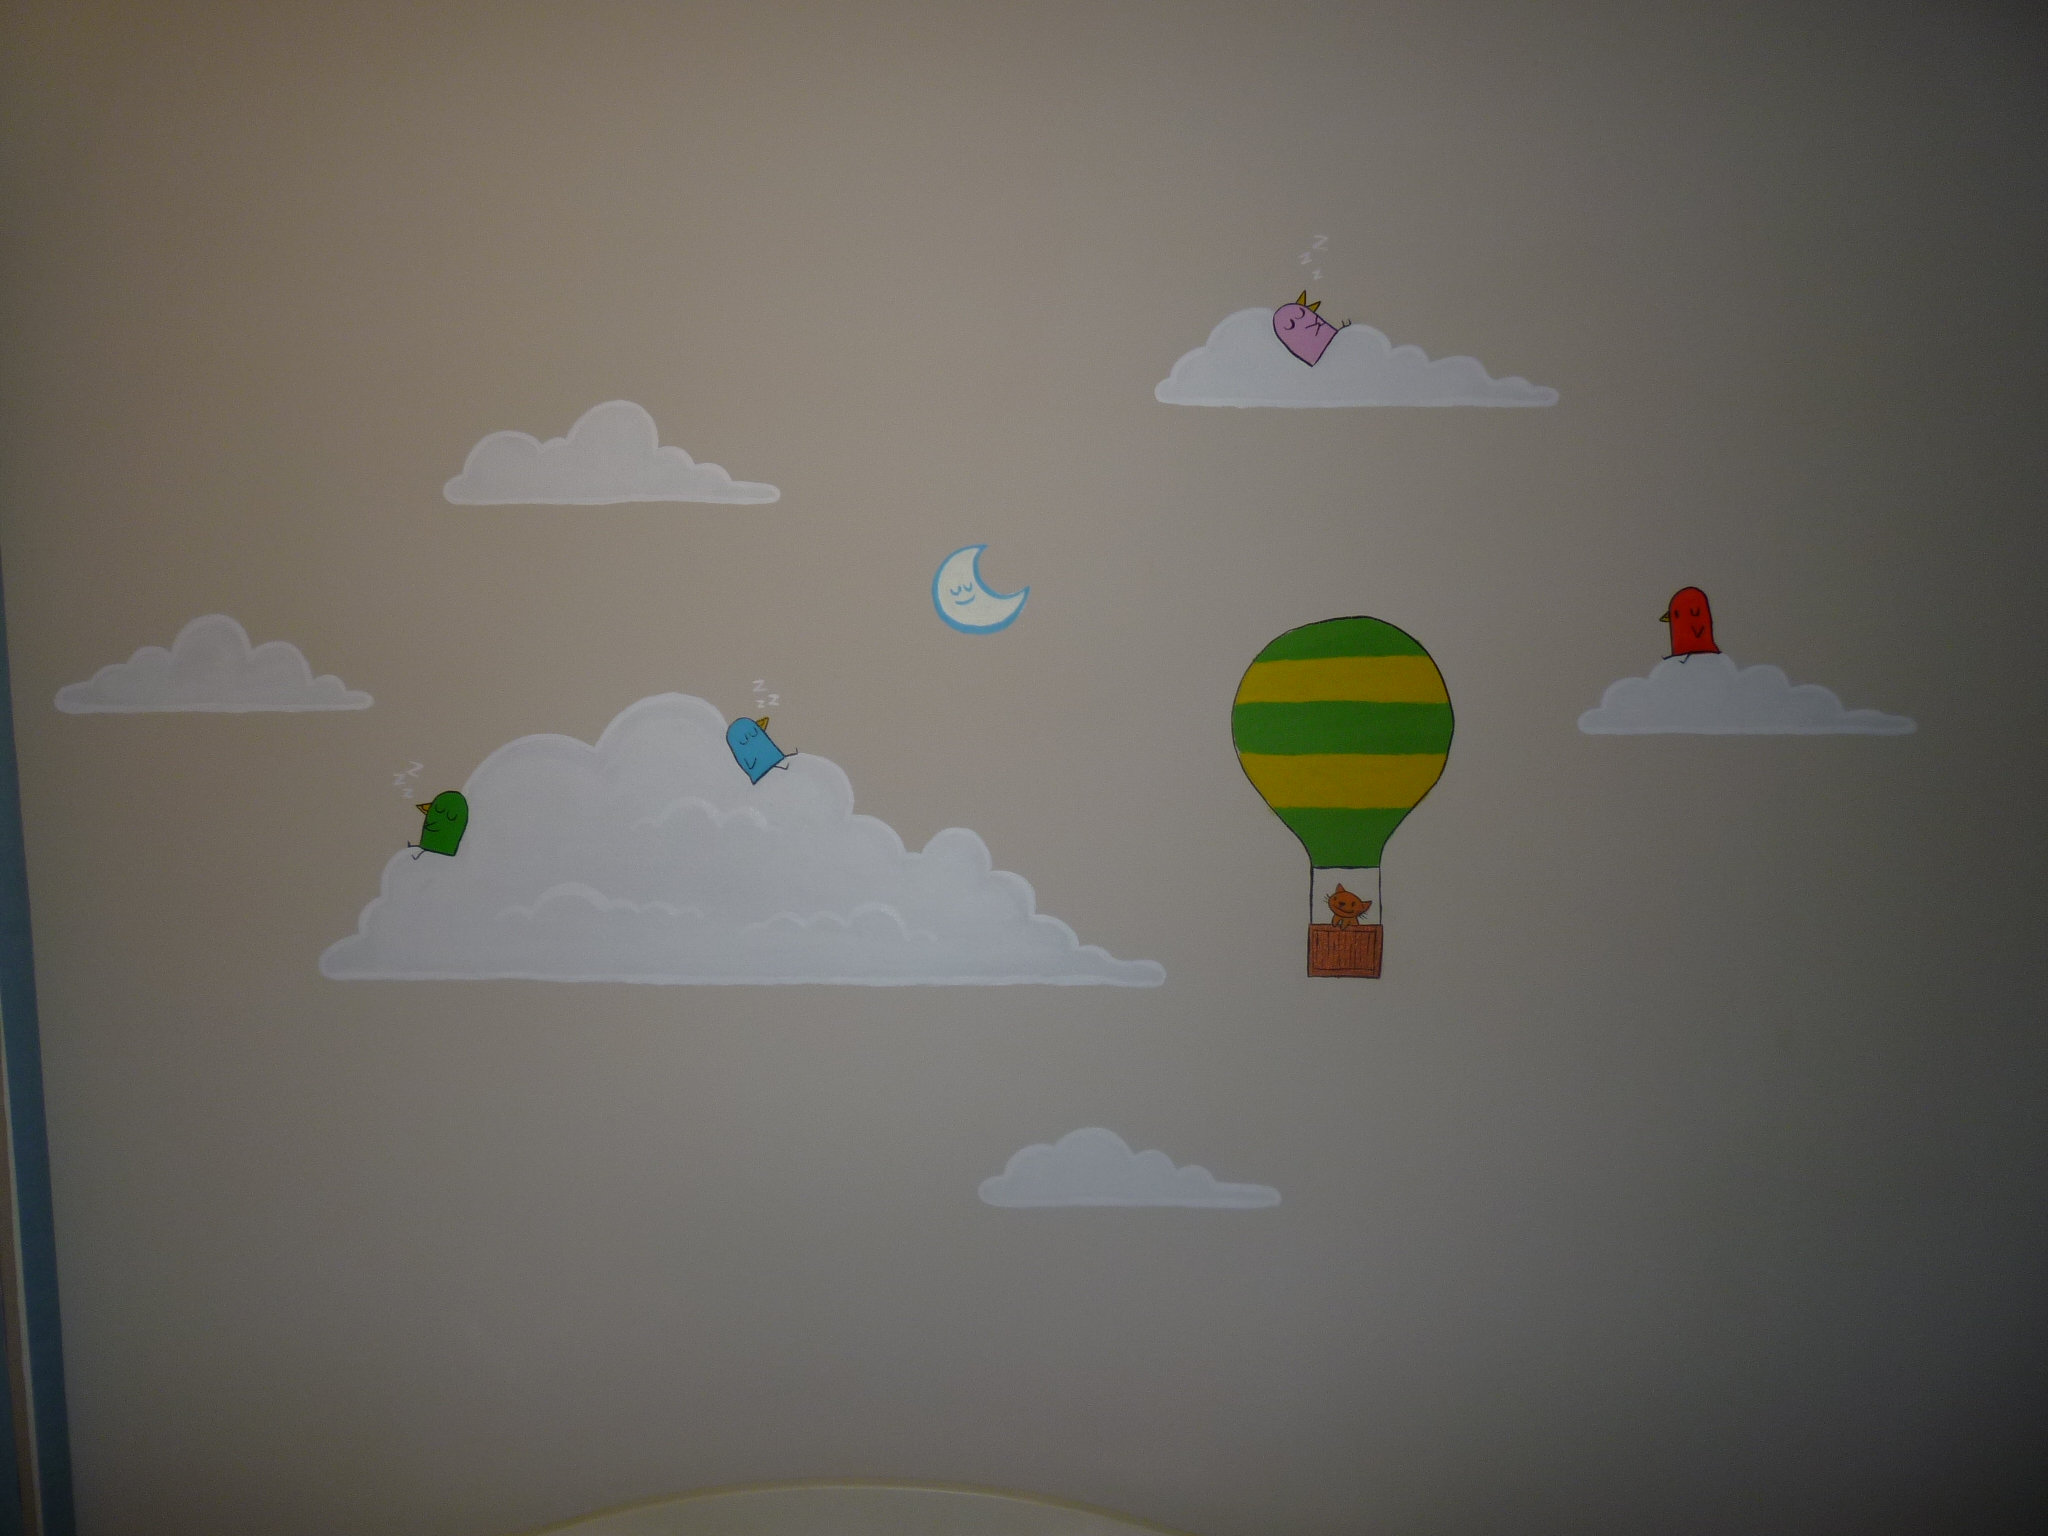
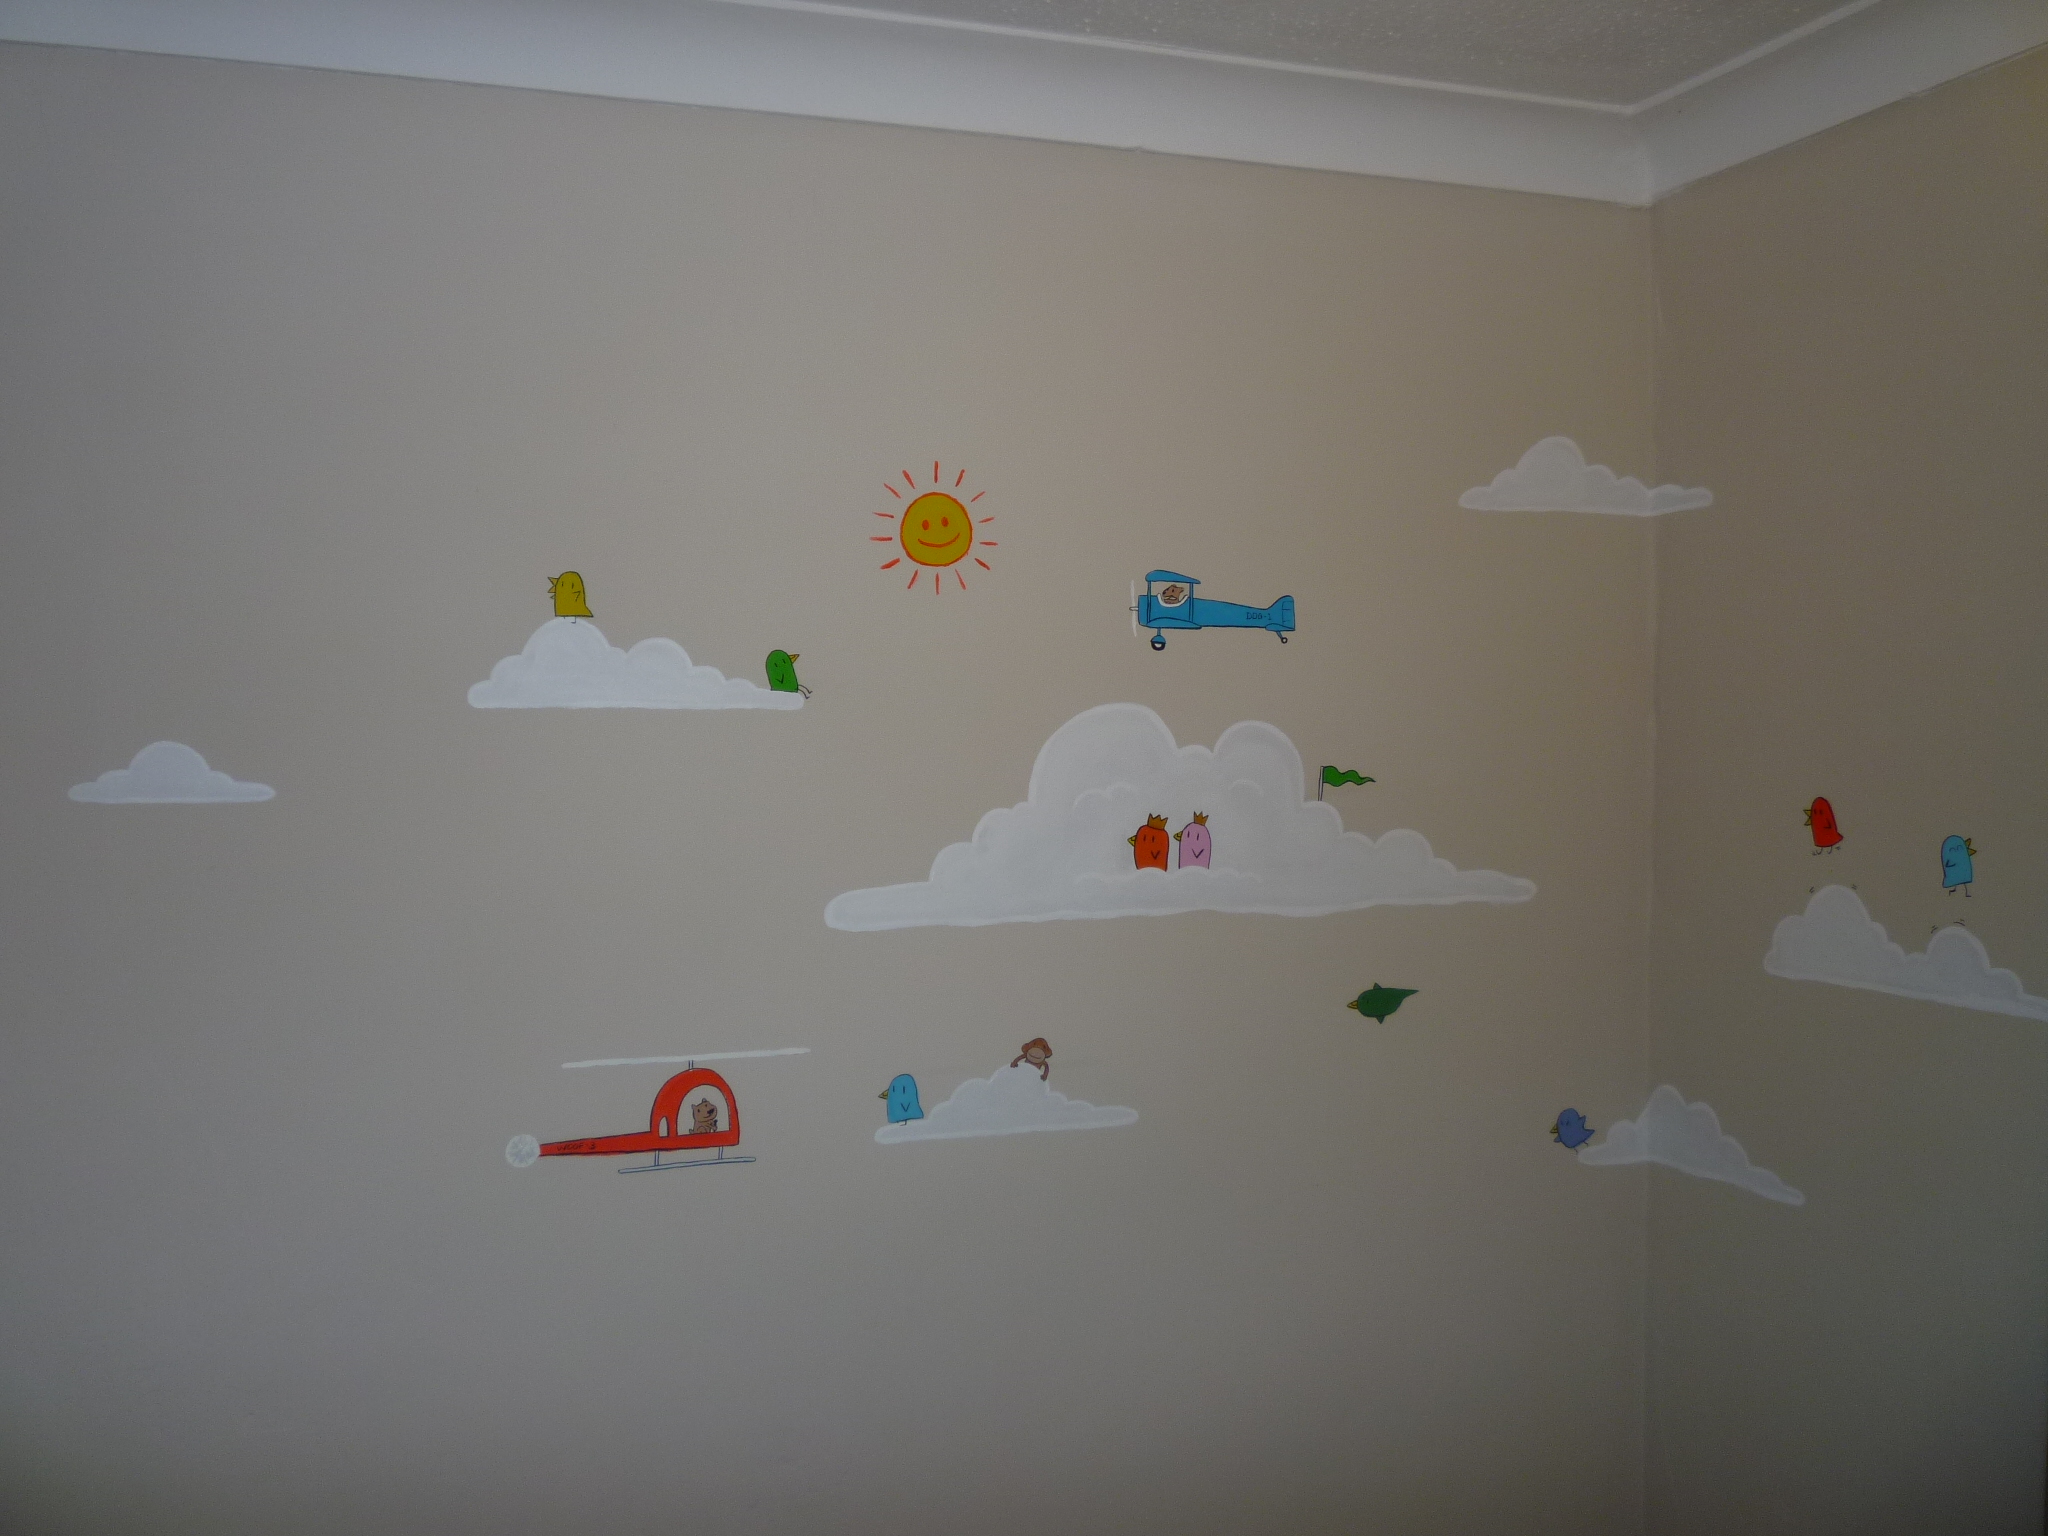
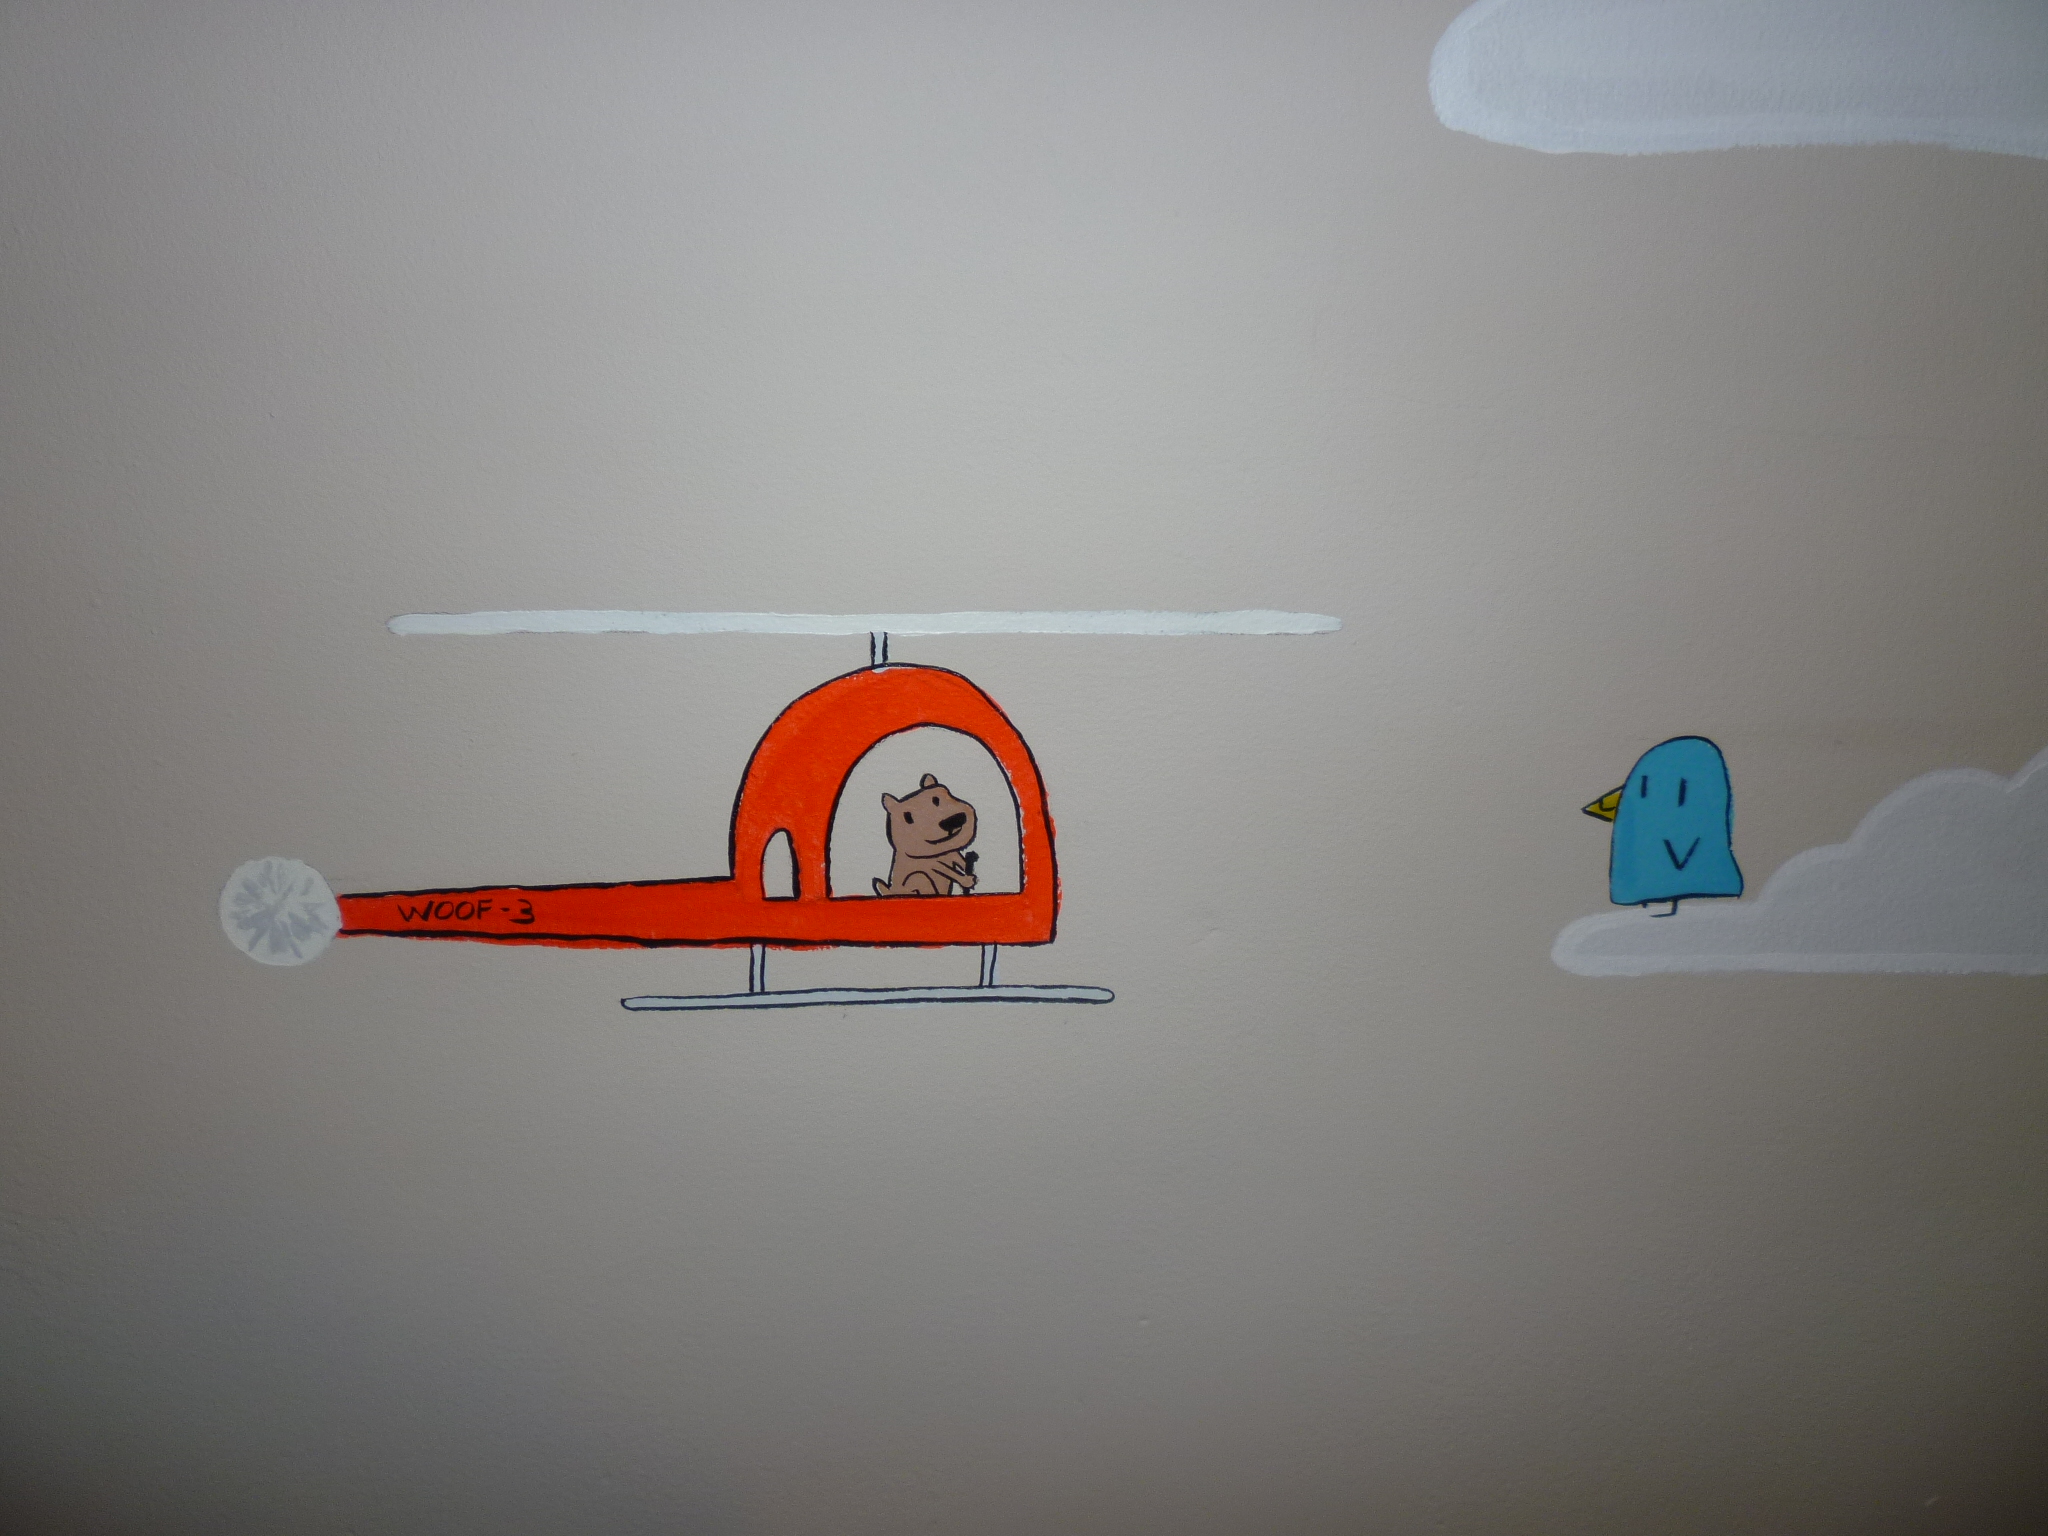
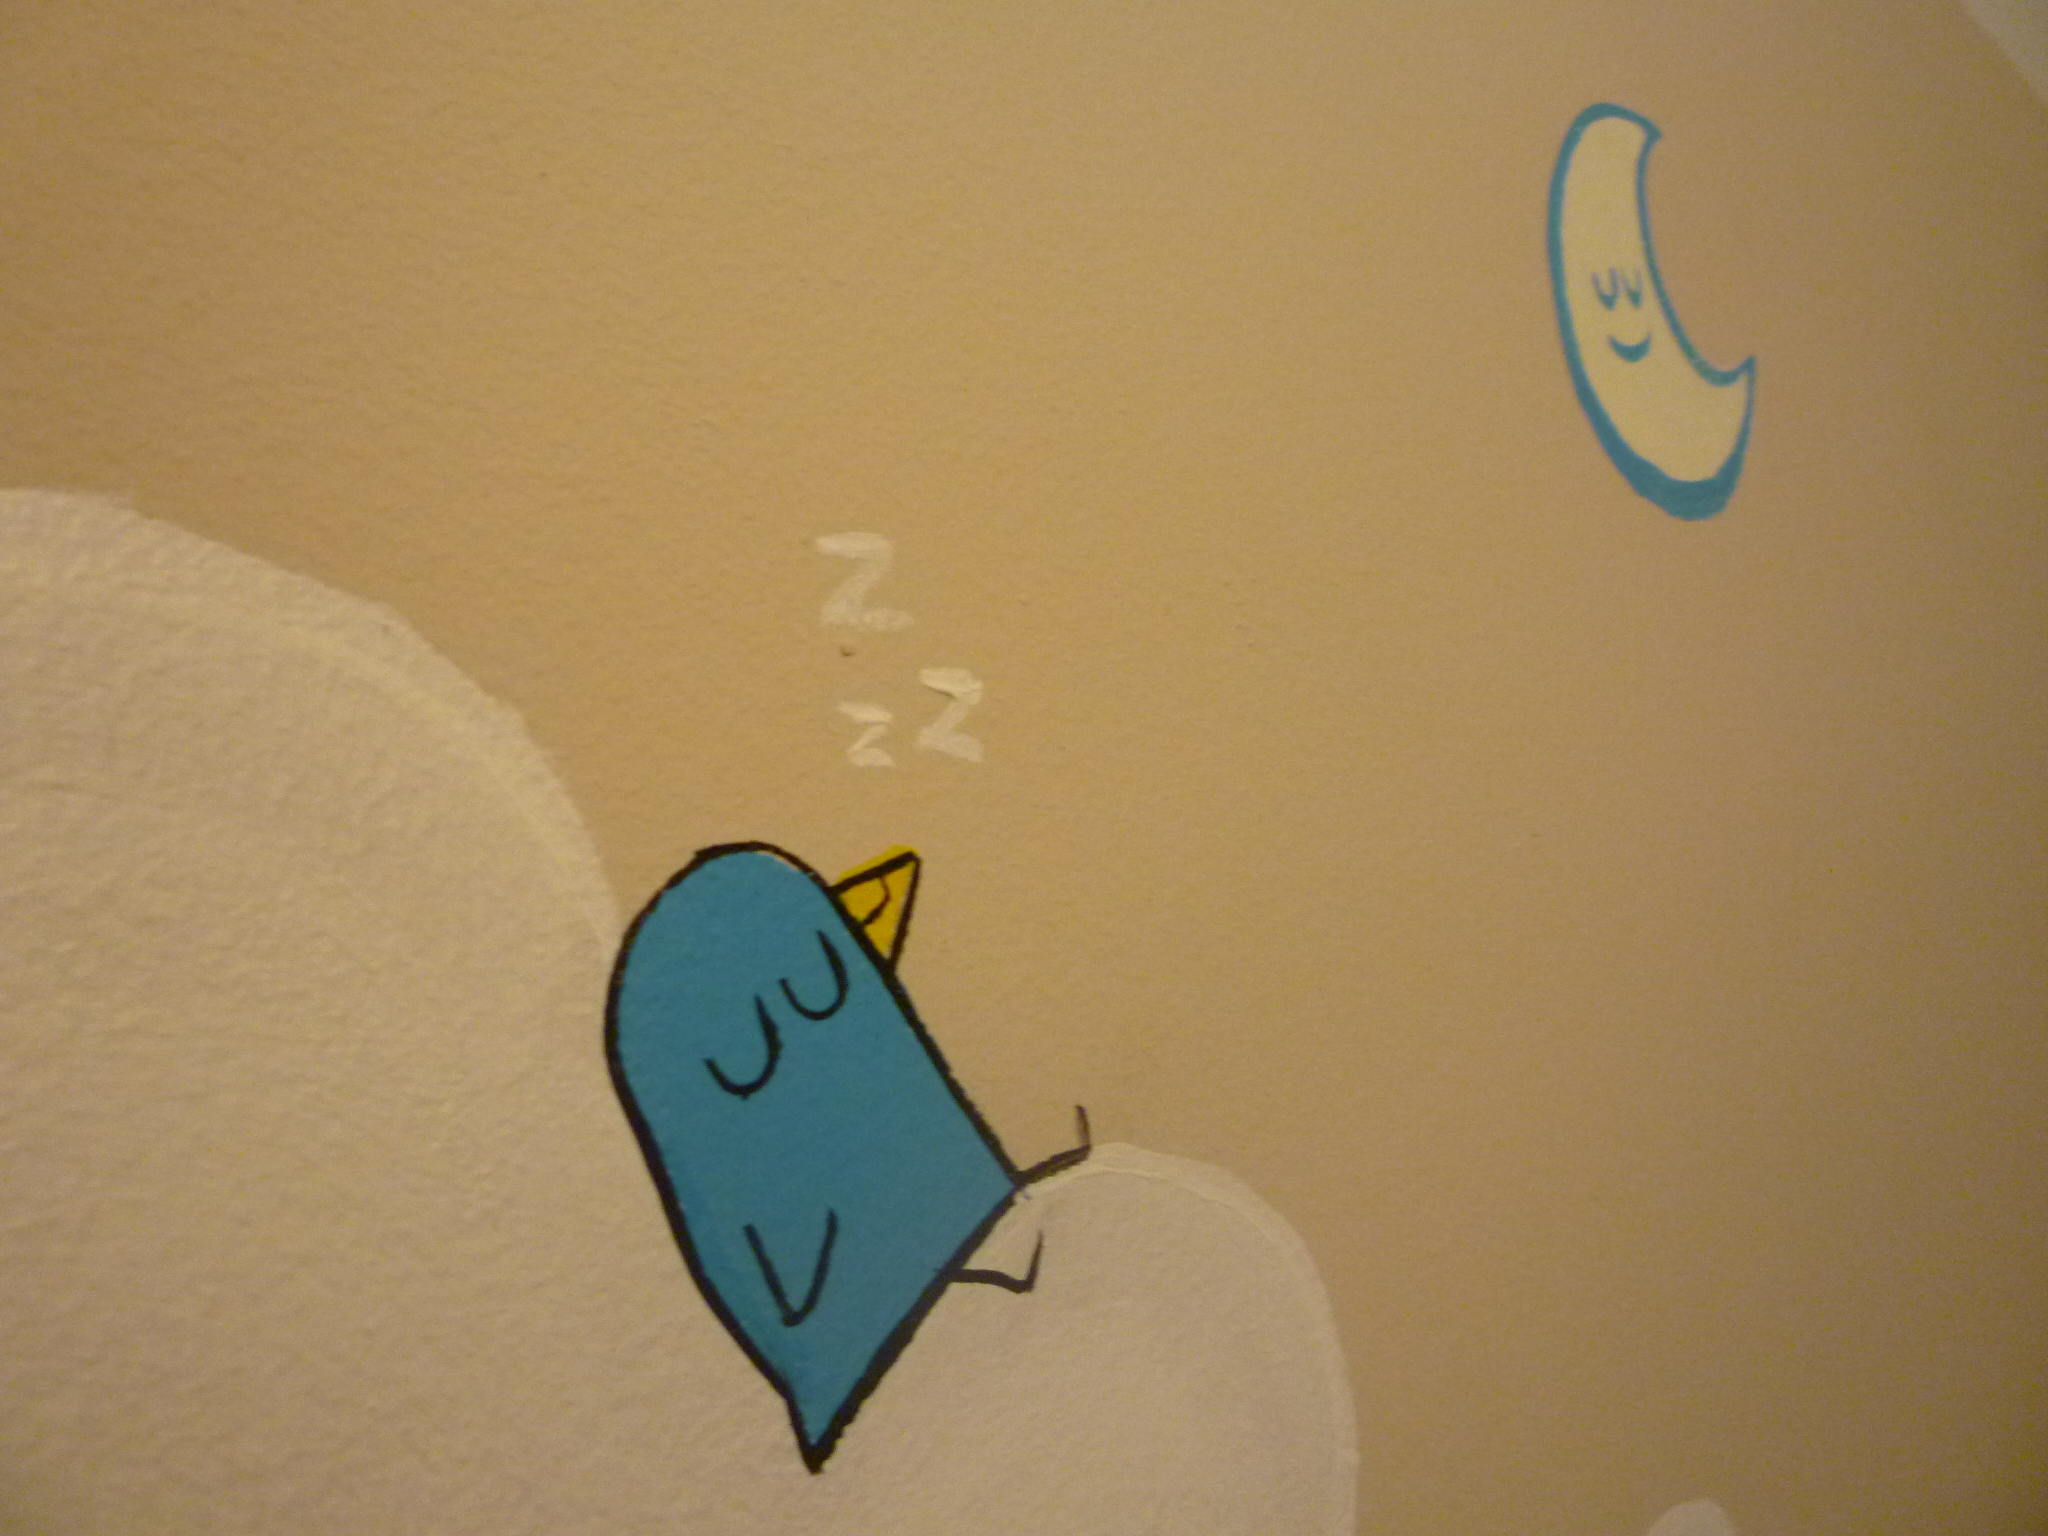
In case anyone is interested, the clouds went on first, and are painted with normal white wall paint. All the other colours followed and are acrylic paints – I used a set of process colours from Daler Rowney, which you get from here or your local art store: Daler-Rowney System 3 75ml Original Process Paint Tube (Set of 5)

Process colours means that you can (theoretically) mix them together to make pretty much any colour you like, although in practice there’s a lot of trial and error involved, and a fair few dollops of brownish grey wasted paint leftover. Acrylics hold their colour quite well and you can get some nice bright shades for the kiddies.

Once that all dried, I outlined the clouds, sun and moon in acrylic paint, and the black outlines went on last. They were done using a fine paintbrush and some black india ink. It’s much much easier and cleaner to get an accurate line with the black ink than with black paint.

Animation

A video I put together on the back of a recent church project – I wrote, illustrated, animated and edited the clip.

Portfolio: T Shirt Designs

A collection of some of the designs I have put together for t shirts recently.
LighthouseSnake

Lightning2lightdarkwave

WavesSnakes2

2SnakeCyclops

Skull3

Hobbit-Final


River-Spirit

Kiwifly

Raindeer

Cats-and-Dogs

Smuggler Jim

Chocobo-DJ

KingPrincess-Mononoke


Doctor Who T Shirt

BoatsCompass

Skull-Island

Role ReversalGet Out More

Bush-idoBovine Islands

Role ReversalGet Out More

Role ReversalGet Out More

Role ReversalGet Out More

Role ReversalGet Out More

Role ReversalGet Out More

Illustrations

I produce illustrations for a wide range of media, from publishing to decorative prints and murals, and would be happy to work with you to create something unique.

Some examples of my recent work can be found below. If you would be interested in commissioning an illustration for any purpose, please feel free to contact me by following this link.

Vintage USA

Vintage USA

Norwich Cathedral, 2014

Norwich Cathedral, 2014

Laputa

Floating Castle

map japan

Vintage Japan


Byfords of Holt, 2014

Byfords of Holt, 2014

Molyvos, Greece 2014

Molyvos, Greece 2014

Mural for our nursery - 2015

Mural for our nursery – 2015

Tutorial – Limitations

A tutorial for a design I created recently for a competition on Threadless. I’m working in Photoshop CS6 – so if you’re using another program you may need to use slightly different tools.

For this one, I started out with a very light, rough pencil sketch on good quality smooth A3 paper. I inked directly over it with a black pen (Sakura Micron, 05 thickness). I sometimes use tracing paper instead, but that’s more fiddly and I’m kind of lazy.

Scanned the image using a flatbed scanner (Epson V330 Photo) – ideally you want a scanner that will let you preview your scan, let you adjust levels and so on to get nice lines and eliminate grey noise – but you can try and clean up in photoshop/gimp instead using the levels tools. This is the scanned image, with some levels adjustments to get rid of any grey. Using the brush I then manually adjusted any lines I wasn’t happy with, or where I had made any mistakes while inking.


For this design, the black lines aren’t actually going to print. I selected the full outline of the image (clicking outside the image area with magic wand) and filled that area with light grey on a separate, lower layer. If the selection is too big/small you can either change the tolerance in the magic wand’s settings, or go to Select – Modify – Contract and reduce the size of the selection by a pixel or two.

You can then use the layer with your black lines on to punch some holes in the colour layer – hold control (or command key) and click on the picture next to the linework layer – this will select all of the linework at once. If you then select the layer with the block colour and press backspace (or maybe delete?) the selected areas will be deleted from the block of colour. If you then give the image a black background, you get the following:


Finally, I added a little halftone texture – Alvarejo’s tutorial is great for how to do this. I think Gimp can do a similar thing using the ‘newsprint’ setting, though I haven’t used it lately.

And you’re done. Feel free to leave comments or ask questions if you’re interested.